What is the Hardest Position in Rugby? Breaking Down the Game’s Toughest Role
If you ask ten rugby fans which position is the toughest, you’ll probably get ten different answers—plus at least three heated arguments. People always talk about the size of props, the speed of wingers, the brains of the fly-half, or the grit of a flanker. But when you look past all the stereotypes, figuring out the genuinely hardest job on the field is more complicated than you’d think.
Hard doesn’t just mean you get knocked around a lot (though that's definitely part of the story). It’s about stamina, split-second decisions, reading the game, and adapting when things get messy. And truth is, no spot on the pitch lets you hide—each one will test you in a different way.
So, why does this even matter? Say you’re picking a team, planning fixtures, or just looking to level up for next season. Knowing which roles push players to their limits can totally change the way you train, the skills you focus on, and even how you watch a match. It’s not just a debate for the pub—understanding the hardest position means knowing where rugby is really won and lost.
- The basics: Rugby positions explained
- Defining 'hardest': What actually makes a position tough?
- The contenders: Forwards vs. backs
- Inside the scrum: The life of a prop and hooker
- The ultimate test: The fly-half’s mental load
- Tips for surviving rugby’s toughest roles
The basics: Rugby positions explained
Before you can argue about the hardest position in rugby, you need to know what all the different roles actually are. Rugby union teams have 15 players, each with a job that’s totally different from everyone else’s. They’re split into two main groups: forwards (numbers 1-8) and backs (numbers 9-15).
Forwards are the big units up front—think of them as the engine room. Their main jobs are winning the ball, making hard yards, and smashing into the opposition. Forwards are broken down into these spots:
- Props (1 & 3): These guys anchor the scrum. You’ll usually find them with necks thicker than their heads.
- Hooker (2): Stuck between the props, throws in at lineouts, and literally hooks the ball in the scrum.
- Locks (4 & 5): Tall, lean, and usually wear the highest socks. Drive the scrum and jump in the lineouts.
- Flankers (6 & 7): The hunters. Always tackling, carrying, or stealing the ball.
- Number 8: The link between forwards and backs. Runs the ball hard, loves a big carry.
The backs are the speedsters and playmakers. They’re the ones you see finishing moves and pulling off fancy plays. Here’s how they shake out:
- Scrum-half (9): Handles the ball more than anyone. Feeds the backs, nags the ref, and yells at the forwards.
- Fly-half (10): The game manager. Pulls the strings, kicks for position, and usually decides where the attack goes.
- Centres (12 & 13): Mix of power and quick feet. Smash through tackles or slide through gaps.
- Wings (11 & 14): The fastest on the pitch. Finish off tries and defend out wide.
- Full-back (15): Last line of defense. Chases kicks, returns fire, and rarely gets a break.
Check out how these positions usually stack up in terms of size and speed:
| Position | Avg. Height (cm) | Avg. Weight (kg) |
|---|---|---|
| Prop | 183 | 118 |
| Lock | 198 | 115 |
| Flanker | 188 | 104 |
| Fly-Half | 182 | 90 |
| Wing | 185 | 93 |
Every rugby position is its own world, and knowing who does what makes a huge difference—no wonder there’s always debate about which job is the toughest.
Defining 'hardest': What actually makes a position tough?
When people say a rugby position is "hardest," what do they even mean? It’s not just about getting tackled or being ripped out of scrums. “Hard” covers way more than bruises—think decision-making under fire, loads of running, constant tackling, and handling real pressure with the crowd screaming. The hardest spots blend physical, technical, and mental stuff all at once. So, let’s break that down.
Here’s what usually cranks up the difficulty:
- Physical Demands: Some positions (like prop or flanker) are basically non-stop collisions. Props get tested in the scrum, while loose forwards cover more ground than you’d believe. One 2023 Six Nations stat: flankers averaged nearly 9km of running per match—that’s more than most backs.
- Versatility: The toughest jobs often mean doing a bit of everything. Think of the fly-half, who calls the shots, kicks, passes, and sometimes tackles huge forwards sprinting straight at them. They can’t just specialize—they have to “do it all.”
- Mental Pressure: Fly-halves and fullbacks live and die by their decisions. One wrong call? The whole match shifts. It’s not a coincidence that these positions get compared to quarterbacks in American football—they drive the game plan with every touch.
- Technical Skill: Hookers throwing lineouts in muddy rain, scrum-halves delivering bullet passes from a pile of boots—small technical mistakes can turn a good game sour fast. The harder the technique, the more stressful when it counts.
Check this table for a quick summary of what’s expected at each spot:
| Position | Main Challenge | Key Skill | Max Heart Rate (Match Avg) |
|---|---|---|---|
| Prop | Heavy collisions, scrummaging | Strength, technique | 180 bpm |
| Flanker | Endurance, tackles | Mobility, grit | 185 bpm |
| Fly-half | Decision-making | Vision, composure | 170 bpm |
| Fullback | High ball pressure | Anticipation, safe hands | 165 bpm |
To sum it up, the “hardest” in rugby positions doesn’t just mean getting battered. It’s a mix of athleticism, brains, nerves, and flawless technique—sometimes all at once, under the glare of lights and expectations.
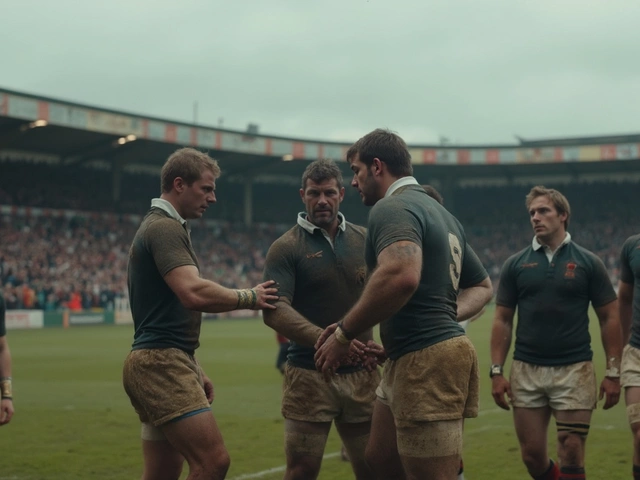
The contenders: Forwards vs. backs
This is where the real debate starts. Rugby splits players into two tribes: forwards and backs. Each group has a different job, and deciding which one has the hardest position is like comparing apples and oranges—but with way more bruises and mud.
Forwards are the big hitters. They handle most of the grunt work—scrums, rucks, mauls, lineouts. Their day is a never-ending wrestling match, with loads of tackling, pushing, and lifting. Every match, forwards can cover up to 7km, a lot of it spent smashing into other players. Especially in modern rugby fixtures, the speed and intensity never let up. If you want a taste of pain, just watch a scrum collapse.
Beneath all the muscle, though, there’s more to the job. Hookers throw the ball in at lineouts with sniper accuracy. Flankers cover tons of ground chasing turnovers. Every mistake is costly, and the pressure is real.
The backs look flashier, but their jobs are no cakewalk either. Sure, they’re the ones sprinting down the wing for a try, but they also spend all game reading plays, reacting in seconds, and tying the whole team together defensively. Miss one tackle at fullback, and you can lose the game. The fly-half makes more decisions under heat than pretty much any player in any team sport. And scrum-halves? They deal with 80 minutes of chaos, constantly serving as the link between forwards and backs—barely ever standing still.
Here’s a quick side-by-side comparison—just look at the demands in average Premiership games:
| Role | Avg. Distance (km) | Hits/Tackles | Key Skills |
|---|---|---|---|
| Prop (Forward) | 6 | 20+ | Scrummaging, lifting, tackling |
| Flanker (Forward) | 7.5 | 25+ | Breakdowns, tackling, support |
| Fly-half (Back) | 7 | 10 | Decision-making, kicking, passing |
| Fullback (Back) | 7.5 | 12 | Catching, covering, last-line |
So, is the hardest spot in the forwards or the backs? Truth is, it depends on what type of hard you mean—physical, mental, or somewhere in-between. Each group makes the other look easy until you try it yourself.
Inside the scrum: The life of a prop and hooker
If you’re wondering where the grind really happens in rugby, it’s right in the scrum—and no one feels it more than the props and the hooker. These three players form the front row, each with a job that’s demanding in a different way. The props (loosehead and tighthead) hold up the scrum's sides, while the hooker squats in the center, trusted to strike for the ball and keep everything steady in the chaos.
The daily life of a prop? It’s all about raw strength, low center of gravity, and the ability to absorb a shocking amount of pressure. Props anchor the scrum and take on direct hits from the opposition’s biggest players on every set. This isn’t just a pushing contest—it’s full-body wrestling with about 900 kg of force coming through your spine on each engagement. According to World Rugby research, scrums collapse in about 17% of professional matches—so stability and technique are more vital than some fans realize.
Now swing to the hooker. You need good timing and serious neck strength, because you’re getting squeezed on both sides while aiming to hook the ball back with your foot, all in a split second. But the hooker’s gig doesn’t stop in the scrum—their job also includes throwing the ball perfectly straight in lineouts (and if you mess that up, everyone notices). It’s one of the only spots where you can blow the whistle singlehandedly just by being off by a centimeter.
| Typical Physical Traits | Props | Hooker |
|---|---|---|
| Average Height | 1.85m (6'1") | 1.80m (5'11") |
| Average Weight | 120kg (264 lbs) | 108kg (238 lbs) |
Props and hookers often have the shortest careers out of all rugby positions, simply because of the constant battering. Shoulder, neck, and back injuries are far too common. That’s why front row players spend hours on strength and mobility training—any slip in technique can end your season fast.
If you’re playing either spot, here’s what you absolutely need to focus on:
- Build core and neck strength—seriously, don’t skip it.
- Drill scrum technique, not just gym lifts. Bad habits hurt bad.
- Get mobile—props and hookers have to hit rucks, carry the ball, and hit tackles too. It’s not just scrum work.
- Practice quick and accurate lineout throws (if you’re a hooker). It’ll save your squad from messy turnovers.
Front rowers may not get flashy tries, but ask anyone—there’s no harder position in rugby when it comes to sheer toughness.
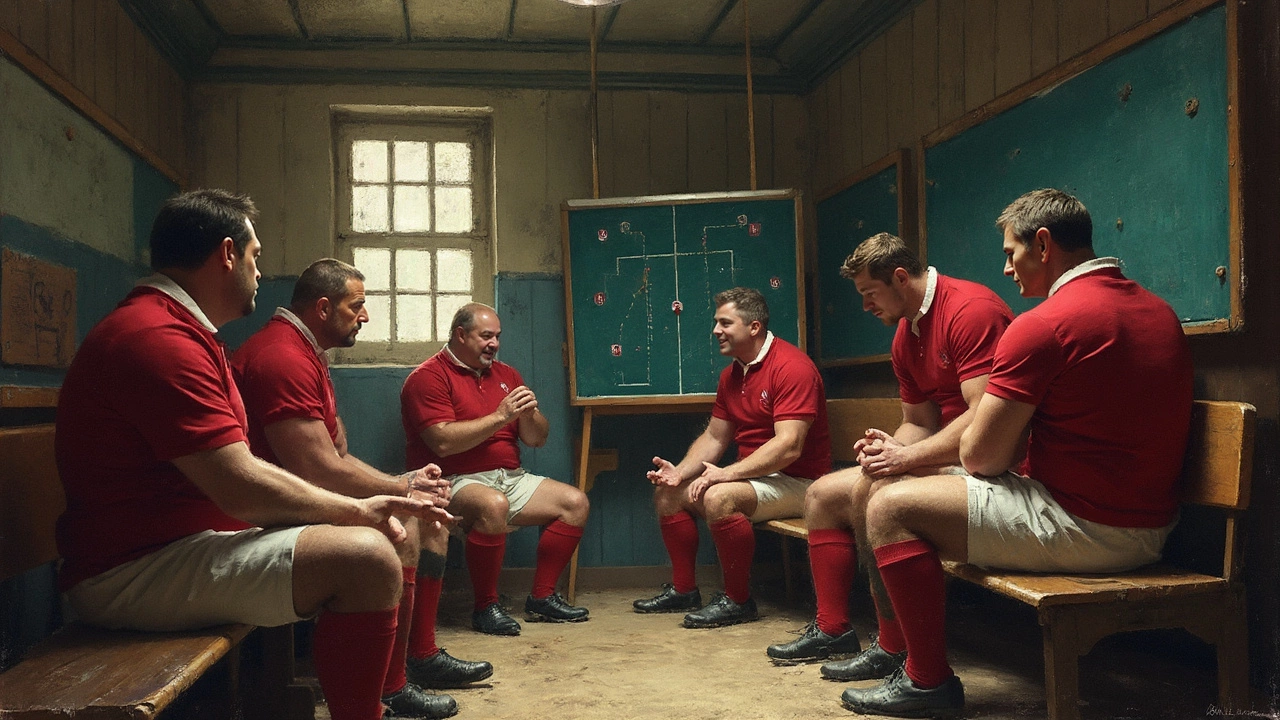
The ultimate test: The fly-half’s mental load
If you want to find the spot where brains and pressure collide in rugby, look at the fly-half. These are the number 10s—the players labeled as "playmakers," but it’s way more than just passing the ball. In every rugby fixture, the fly-half is steering the whole ship. They’re constantly reading defenses, shouting instructions, and calling the plays that can make or break a game.
The mental side is no joke. A fly-half can touch the ball over 40 times in a match, and every time, there’s a split-second decision: pass, kick, run, or set up an attack. Get it wrong, and the other team usually punishes you fast. This is why lots of the world’s best coaches—people like Eddie Jones—are always obsessed with finding the perfect fly-half. It’s not about sheer skill; it’s about decision-making under heat.
Pressure? Huge. If the team’s attack stalls, everyone looks at the 10. When the clock’s running out and you need a winning drop goal, it’s the fly-half standing in the spotlight. Imagine 60,000 sets of eyes (plus TV cameras) waiting for you to move. It messes with your nerves, and not many athletes want that kind of stress every Saturday.
On top of that, fly-halves are usually in charge of kicking for points. The average top-level fly-half kicks for goal with over 75% accuracy. That means any slip—maybe the wind changes or your foot placement is off—can cost the game. Here’s what that shooting pressure looks like in elite matches:
| Player | Season (Top League) | Goal Kicking Accuracy |
|---|---|---|
| Romain Ntamack | 2023/24 | 77% |
| Owen Farrell | 2023/24 | 83% |
| Handré Pollard | 2023/24 | 82% |
That doesn’t just come from hours on the practice pitch. Fly-halves have to manage nerves and block out the noise every single kick. Want to play this hardest position in rugby? You’ll need more than quick hands and fast feet. Here’s what helps:
- Watch pro matches and study fly-halves: notice their body language after mistakes or when making tough calls.
- Practice decision-making under pressure with game scenarios, not just drills.
- Talk to your coach about different rugby positions so you know what your teammates need from you and can keep the team on track.
- Work with a kicking coach. Focus on repetition and building a routine—top kickers stick to their habits like clockwork.
The fly-half does more than steer the attack. They juggle insane pressure and make about a hundred little decisions you never see on the highlight reel. That’s the mental load—and it’s why this spot is always in the conversation for the hardest gig in rugby.
Tips for Surviving Rugby’s Toughest Roles
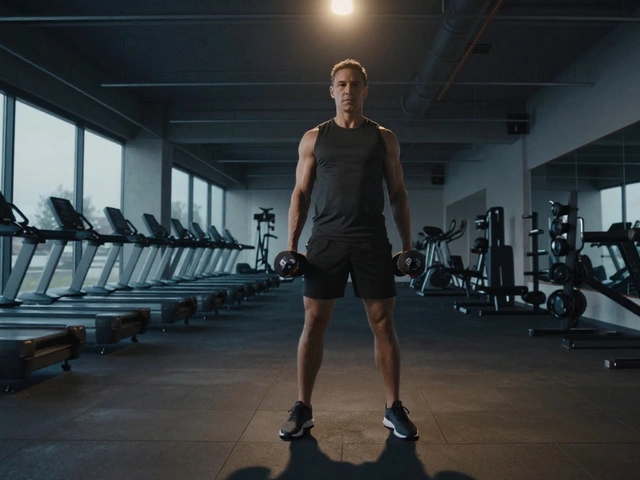
If you’ve landed one of the hardest rugby positions—like prop, hooker, or fly-half—get ready to be tested in every way possible. Survival means more than just toughing it out. It’s about smart prep, solid habits, and learning from the best in the game. Here’s what really helps you go the distance in those brutal fixtures.
- Keep your body ready year-round. Heavyweights like props and hookers burn through more calories than you’d expect—up to 5000 in one intense rugby fixtures match. Build muscle for power, but don’t skip cardio. Fly-halves and fullbacks: you need fast feet and sharp minds, so interval sprints and game-awareness drills should be regular in your routine.
- Work on your mental game. Fly-halves deal with crazy pressure—imagine 80 minutes of constant decision-making with a whole stadium judging your every kick. To keep cool, practice under simulated stress (like small-sided games or making calls when you’re already winded). Visualizing your options before a game helps a ton.
- Boost your communication. In roles like scrum-half or hooker, calling plays and reading the ref is half the battle. Strong, clear calls can give your team a serious edge. Try recording your voice during practice—then see if you can actually make yourself heard over a crowd or a scrum. You’ll be surprised at what needs work.
- Know your limits—then push smartly. Research from World Rugby found players in the front row hit more than 30 scrums per match. Recovery is key, so use ice baths, stretching, or even power naps after rugby tips sessions or games.
- Eaten right? Stay fueled. Bananas, nuts, and electrolyte drinks can stop cramps mid-game—every pro has a go-to snack. Eat simple carbs before kick-off and get some protein in quick when the final whistle blows.
- Stick to your strengths, but always cross-train. The best props practice lineout throws. The slickest fly-halves take a few tackles for fun. It keeps you nimble, so you’re not caught off-guard when the game plan shifts.
Here’s a quick look at average physical demands for different rugby positions during a pro match (2023 numbers):
| Position | Average Distance Covered (km) | Avg Scrums/Tackles Per Game |
|---|---|---|
| Prop | 5.1 | 35 |
| Hooker | 6.3 | 30 |
| Fly-half | 7.5 | 11 |
| Flanker | 7.8 | 24 |
| Fullback | 8.6 | 12 |
Surviving—and thriving—in the hardest rugby positions means prepping like a maniac and playing with brains, not just brawn. There’s no shortcut, but nailing these basics can keep you on the pitch no matter what comes at you.